How to Install LED Strip Lighting
May 29,2020
If you’re looking to add colors or subtlety to a room, LEDs are a great choice. LEDs come in big rolls that you can easily set up even if you don’t have any electrical experience. A successful installation just takes a little bit of planning at first to ensure you get the right length of LEDs and a power supply to match. Then, you can connect the LEDs with purchased connectors or by soldering them together. Connectors are easier to use, but soldering is the better option for a more permanent way to join LED strips and connectors. Finish by sticking the LEDs in place through their adhesive backing, then plug them in to enjoy the ambiance they create.
1/Selecting LEDs and Power Supplies
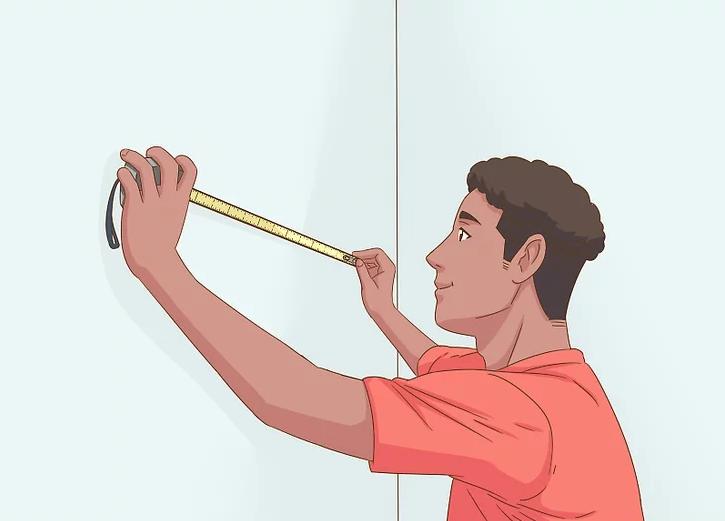
1/Measure the area where you plan on hanging the LEDs. Take a rough estimate of how much LED lighting you’re going to need. If you’re going to install LED lighting in different locations, measure each spot so you are able to cut the lighting to size later. Add the measurements together to estimate the total length of LED lighting you will need to purchase.[1]
- Plan out the installation before doing anything else. Try making a sketch of the area, noting where you’re going to place the lights and any nearby outlets you can connect them to.
- Be sure to account for the distance between the nearest outlet and the LED light location. Get a longer length of lighting or an extension cord as needed to fill in the gap.
- LED strips and other supplies are available online. Some department stores, home improvement centers, and light fixture retailers also carry them.

- If you’re planning on using multiple strips or cutting LEDs into smaller strips, you can generally wire them to the same power source.
- The 12V lights are fit well in most locations and use less power. However, the 24V variety shines brighter and comes in longer lengths.

- For example, if you’re installing a 25 ft (7.6 m) length of lighting that requires 5.12 watts per foot: 25 watts x 3 ft = 128 watts total.
- Remember that the measurement will vary depending on where you live. Check carefully to see if it’s watts per meter or watts per foot.
- If the product label lists the total wattage, divide it by the total number of feet or meters in the reel. For example, if the strip is 5 ft (1.5 m) long at 24-watts: 24 / 5 = 4.8 watts per foot.
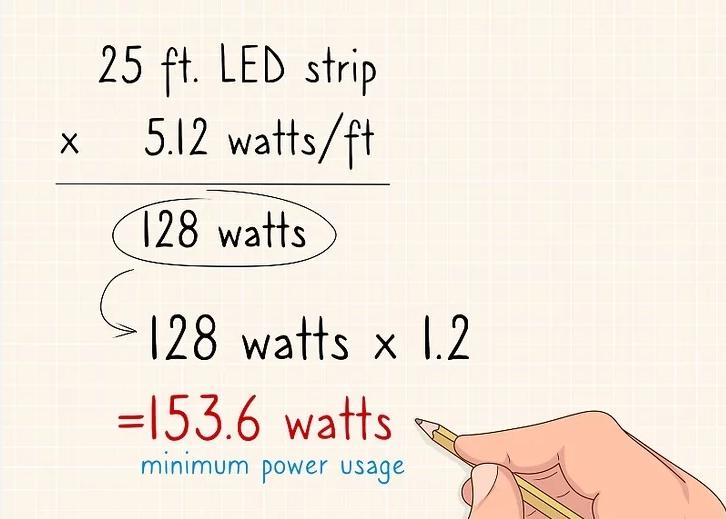
4/Multiply the power consumption by 1.2 to figure out the minimum power rating.The result will tell you how strong your power supply has to be in order to keep the LEDs powered. Since the LEDs may use a little more power than you anticipate, add an extra 20 percent to the total and treat it as your minimum. That way, the power available will never dip below what the LEDs require.[4]
- For example, using a 25 ft (7.6 m) strip: 128 total watts x 1.2 = 153.6 watts. The power supply should offer at least 153.6 watts, or else the lights won’t work.
- Add 20% to the estimate to ensure the lights stay on: 153.6 watts x 20% = 30.72 watts. Then, 153.6 watts + 30.72 watts = 184.32 total watts.
- Many online retailers have a handy calculator you can take advantage of to ensure you get a compatible power supply.
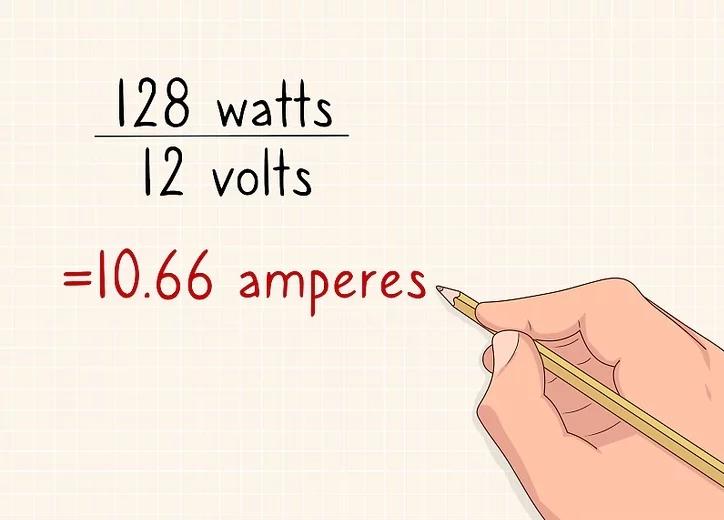
5/Divide the power consumption by the voltage to get the minimum amperes. One last measurement is essential to powering your new LED strips. Amperes, or amps, measures how fast an electrical current travels. If the current doesn’t travel fast enough through a long stretch of LED strips, then the lights will dim or shut off. The amp rating can be tested with a multimeter or estimated with a little math.[5]
- For example, if you have 12V LEDs that use 128 watts of power: 128 / 12 = 10.66 amps.
- To test LED strips, touch the multimeter’s leads to the LED’s copper dots. Make sure it is set to A for amps.

6/Purchase a power supply that matches your power requirements. You now have enough information to select the perfect power supply to light up the LEDs. Find a suitable power supply matching both the maximum power rating in watts and the amperage you calculated earlier. The most common type of power supply is a brick-style adapter, similar to the ones used to power laptops. It’s very easy to use, since all you do is plug it into the wall after connecting it to the LED strip. Most modern adapters come with the parts needed to connect them to LED strips.[6]
- If you’re planning on powering different LED strips separately, get power supply adapters for each one. Remember to calculate each one’s power requirement, since they may be different.
- If you have dimmable lights, select a power supply that is also dimmable. You could also place a dimmer switch between the power supply and the LEDs.
- Another option is to hardwire the LED strips to your existing electrical supply with a hardwire power supply. The installation is tough and potentially dangerous, so call a certified electrician for assistance.
- Latest news
34 genius hacks for LED strip lights
Apr 02,2021LED Strip Lights: How Are They Made?
Nov 30,2020LIVING ROOM LIGHTING IDEAS
Oct 30,2020LED LIGHTING VS. FLUORESCENT LIGHTING – THE FACTS
Sep 29,2020HOW TO PLAN YOUR KITCHEN LIGHTING
Aug 27,2020LIGHTING DESIGN: 5 TIPS FOR INTERIOR DESIGNERS
Jul 31,2020HOW TO USE INTEGRATED LINEAR LIGHTING
Jun 02,2020